Get Premium access to all the latest content online
Subscribe and view full print editions online... Subscribe
Serves 8-12 (Makes 1 x 24cm tart) Desserts and puddings
Preheat the oven to 130C/110C Fan/Gas 1⁄2. Place the baked crust, still in the tin, on a baking tray.
To make the date caramel, put the dates and 30ml water in a saucepan and boil for 3 minutes, mashing the dates with a spoon into a soft, pulpy paste. Scrape the pulp into a bowl and add the cream, butter, vanilla, spices and salt. Set aside.
Combine the sugar and 30ml water in a 25cm saucepan. Cook over a high heat, stirring. When the sugar starts to boil, stop stirring. Boil until pale golden. Reduce the heat to low and cook to a deep mahogany – it should have fine bubbles across the surface and be smoking slightly. Remove from the heat. Immediately and with great care, pour the mashed dates into the caramel and stir well. Leave in the pan to cool at room temperature. Cool, then pour into the crust. Smooth the caramel out to cover the base.
To make the mousse, whisk the eggs, egg yolks and icing sugar in the bowl of an electric stand mixer until thick and fluffy – do this on a high speed for 10 minutes, then turn the mixer down to medium and whisk for a further 2 minutes.
While whisking, fill a 20cm-wide saucepan with 5cm water and bring to a low simmer. Choose
a heatproof bowl (at least 25cm wide) that will nestle atop the pan without touching the water.
Put the chocolates and butter in the bowl, then place the bowl over the pan. Heat until the chocolate has just melted. Don’t overheat or the mix will ‘seize’. Take the chocolate off the heat.
Using a small balloon whisk, fold one-third of the egg foam into the chocolate. Now fold in the remaining foam with the vanilla and salt. At this stage, the chocolate mix should look bubbly and airy. Pour the mix into the caramel-lined crust and smooth the top.
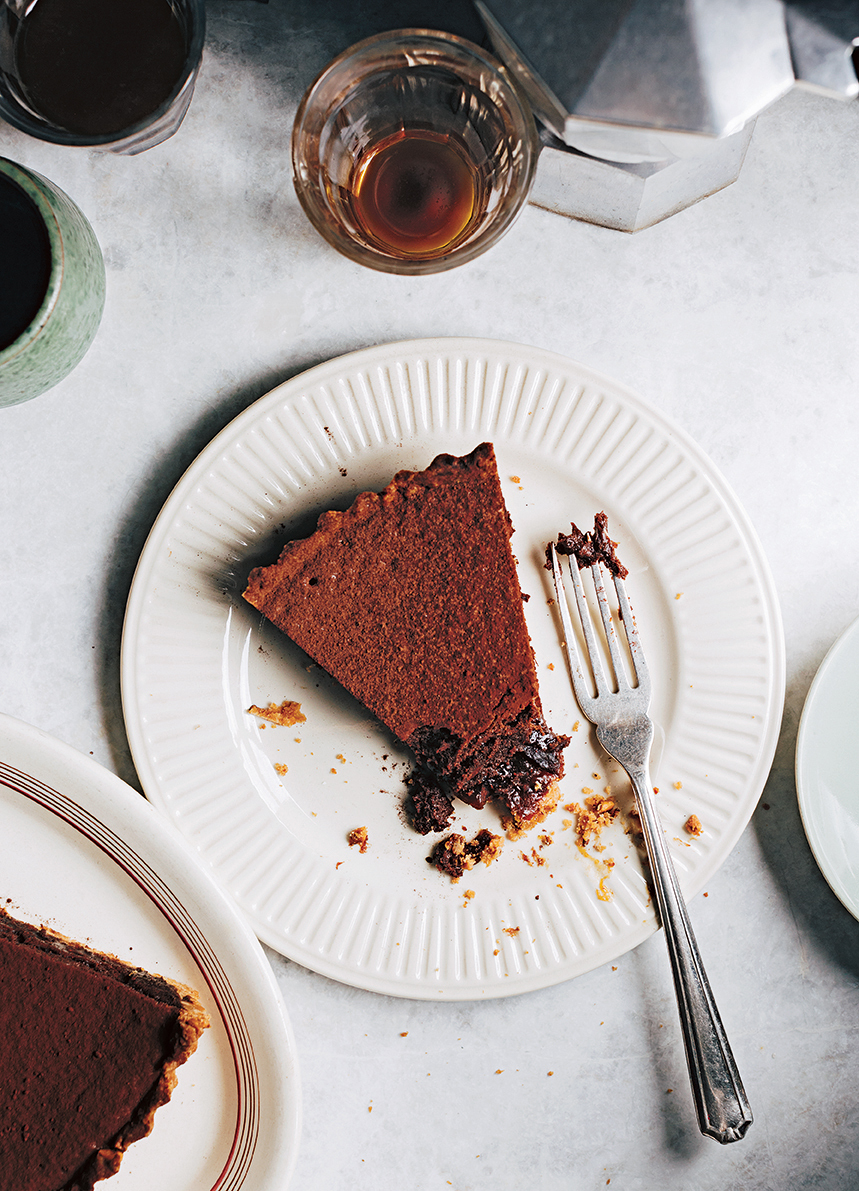
Bake for around 15 minutes. Cool for at least 1 hour, then dust with cocoa powder. Serve at room temperature with cold crème fraîche on the side.
MAKES 1 X 24CM TART CRUST OR 12 X 8CM TARTLET CRUSTS
Preheat the oven to 150C/130C Fan/Gas 2. Put the nuts on a baking tray and toast for around 30 minutes, until deeply golden.
Cool, then crush the nuts in a food processor (or mortar, or chop finely with a knife) until they are the size of whole peppercorns.
Put the crushed nuts, flour, sugar and salt in a wide mixing bowl. Using your fingertips, rub the butter into the dry ingredients just until the butter lumps are the size of small peas and the flour has taken on a yellowy hue. It should feel like silky ground almonds with a few nutty bits and butter lumps.
Add 25ml iced water to the buttery flour and keep mixing with your hands, lightly squeezing the dough together. The mix will look crumbly at first and then will come together like play dough. Loosely wrap the dough in cling film, then press the dough into a 2cm-thick disc, gently squeezing around the edge to smooth out any cracks. If the dough is not too warm, you can start rolling. Or, if it feels sticky, chill for 15 minutes until pliable.
Place the dough on a floured surface and press it out a little with the palm of your hand.
Give the dough 1 or 2 short, pressured rolls with the pin before lifting and moving the dough 90 degrees, making the rolls longer as the dough circle widens. Dust underneath the dough at regular intervals to prevent sticking.
For a 24cm tart tin, roll out the dough to a 35cm circle, around 4mm thick. Trim, then gently lift and flop the dough into the tin. Working in sections, tuck the dough into the edge and against the side of the tart tin to prevent air pockets, then roll off the excess. Freeze for at least 1 hour before blind baking. For individual tins, cut circles slightly larger than the tins and line the same way.
To blind bake, preheat the oven to 180C/160C Fan/Gas 4. Cover the frozen dough with tinfoil, tucking it snugly into the edge of the tin. Fill with sugar and bake for 35-45 minutes (25 minutes for individual tins), until the crust is a deep biscuity brown.
This recipe was taken from the May 2020 issue of Food and Travel.
To subscribe today, click here.

Advertisement
Subscribe and view full print editions online... Subscribe